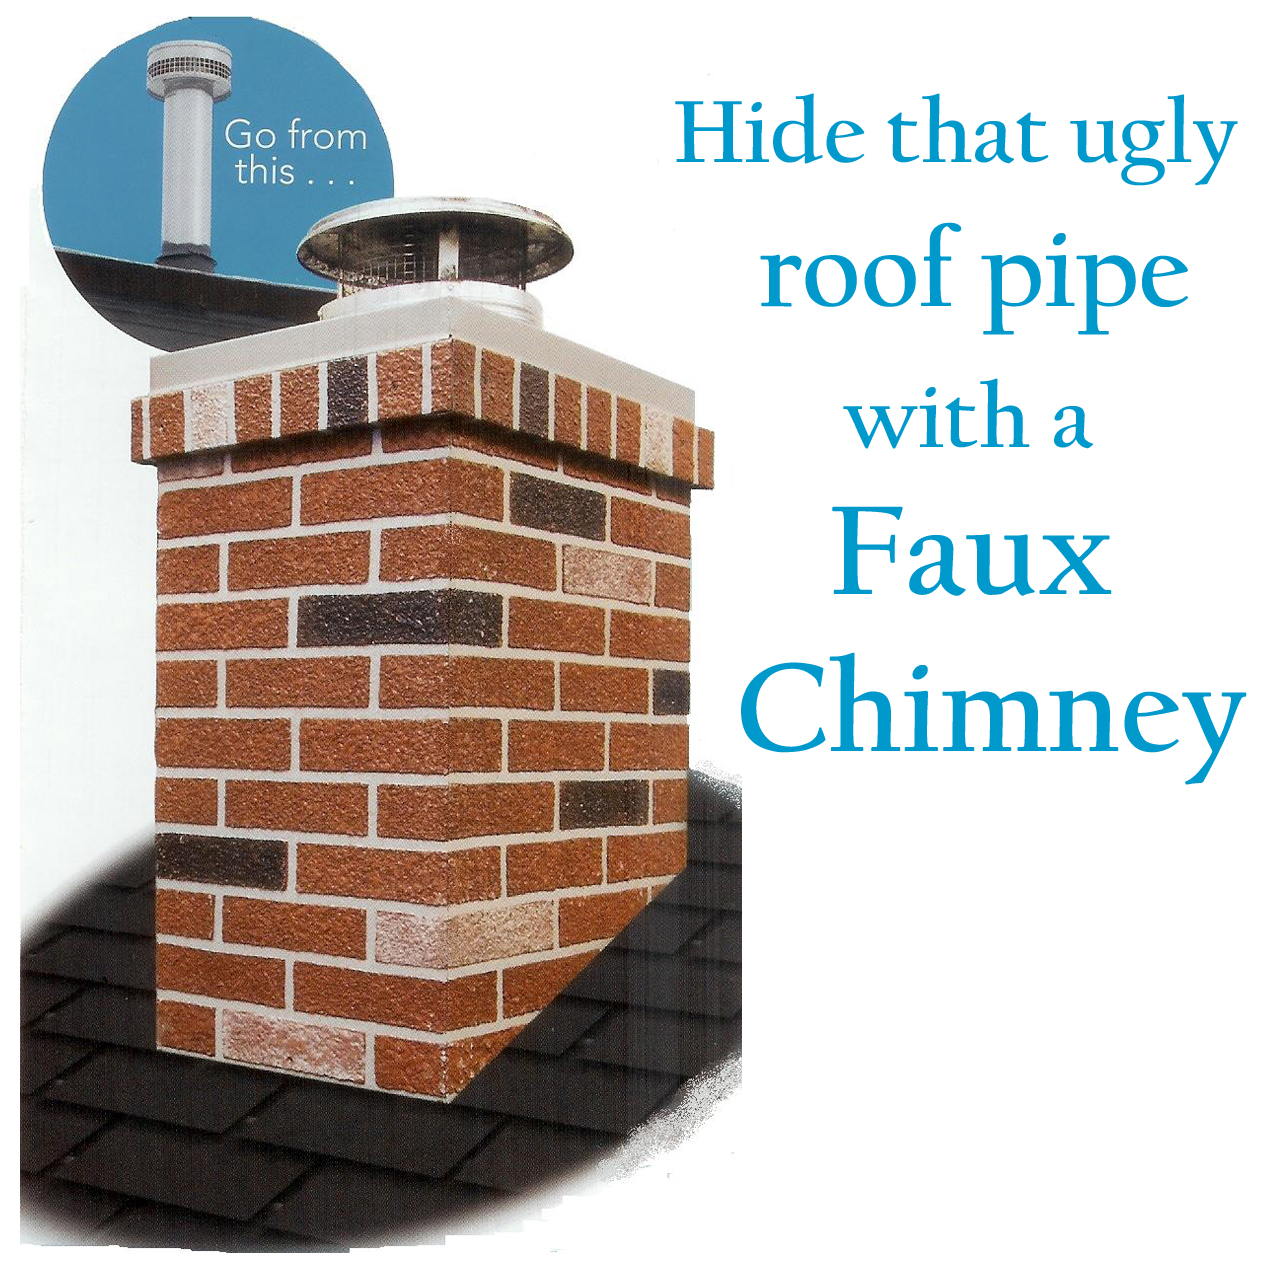
What’s a chimney surround?
A chimney surround is a metal box that encloses the portion of a flue pipe that extends above the roof: it is a false chimney. The purpose of a chimney surround is to dress up the appearance of a home by camouflaging and hiding the ugly pipes or flue pipes sticking out of the roof.
What are they made of?
Chimney surrounds are made of four steel sheets that are made to interlock at the corners. Some manufacturers offer a trim kit and a top section. A trim kit is a row of bricks with their ends facing out. A top section is made to look like a traditional concrete chimney crown.
The metal sides are coated with Space Guard, a miracle product that forms a very hard, long-lasting finish layer. A photographically realistic brick pattern is applied to the Space Guard. This gives the surround the colors and textures of real brick.
The brick finish is offered in several colors, but the colors are not uniform. Instead, they have the color variations found on a real brick chimney.
Four foot tall surrounds are standard, but one can add two foot sections to create a taller chimney surround. You can cut the bottoms of the surrounds to match the pitch of the roof. There are rectangular-based chimney surrounds and square-based chimney surrounds.
How do I assemble a chimney surround?
Companies sell chimney surrounds ‘knocked down’ to reduce shipping costs. The four panels have grooves on their edges that allow you to lock the sides together to form a perfectly square shape. You’ll need to drill holes every 12” on the vertical and horizontal joints and put sheet metal screws in the holes. Have the factory cut the panels to match the pitch of your roof. Or you can cut them yourself.
How do I install a chimney surround?
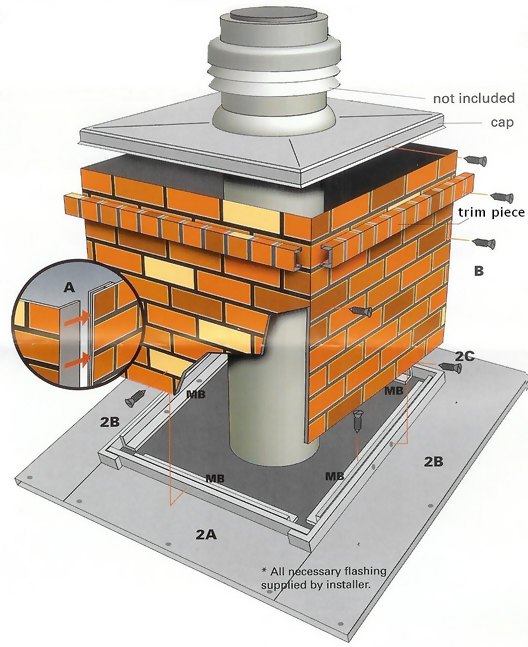
These directions are for the R-Co brand of chimney surrounds: It’s best to install a surround directly on the plywood surface of the roof. Mounting rails come with the surround. Lag bolt the rails to the roof, spaced and squared so that the surround will slip outside of them.
Next, cut four pieces of flashing and bend up the inside edges about one inch so that they lay alongside of the rails. Use roof coating such as FlashSeal to seal the pieces of flashing in place.
Now put the surround in place with its edges outside the turned-up edges of flashing where they rest against the frame you created when you attached the mounting rails. Drill through the surround, the flashing and the mounting rail at each corner and put screws in the holes.
Measure the diameter of your flue pipe. Then cut a hole for the pipe to pass through the gray chimney crown. Slide the crown over the flue pipe and screw it to the surround.
If your surround comes with a trim kit, install the four pieces of the trim kit against the lower edge of the crown.
Finally, install shingles or other roofing material over the flashing.
At this point, the top of the flue pipe will stand above the chimney surround. If you had a chimney cap before installing the surround, re-install it now. If not, buy and install a chimney cap.


